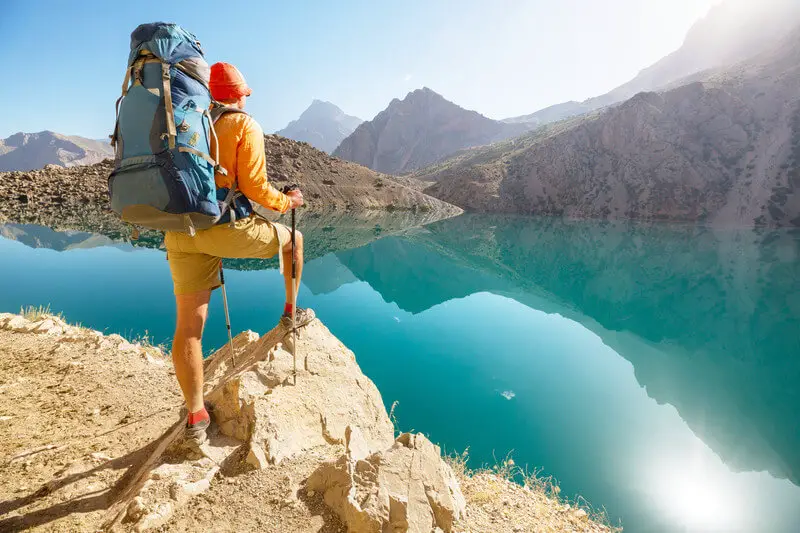
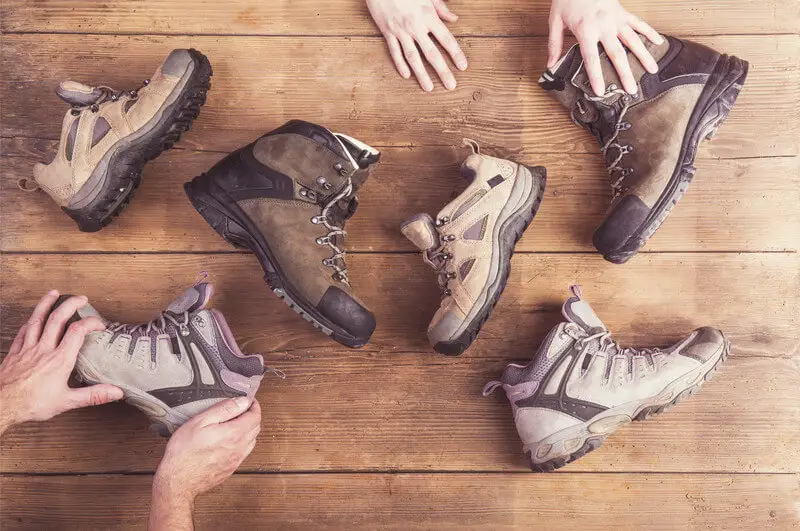
Online shopping gives us access to a huge array of products, often at discounted prices. However, it can be difficult to separate the wheat from the chaff, particularly with brands you may not have worn before and cheaper models from non-specialist manufacturers.
While it is undoubtedly the safer option to pay more and buy from a well-known, quality manufacturer, if you know how to buy the best hiking boots on a budget, you could end up purchasing the same high-quality pair with a substantially lower price tag.
If you just want to check out some top hiking boots, then you can check out the best hiking boots for men, and the best hiking boots for women. You will find some great options there, for all types of hiking, all at a range of prices.
Read on to find out more and check out our money saving tips for great quality hiking boots at reduced prices.
The Importance of Good Quality Hiking Boots
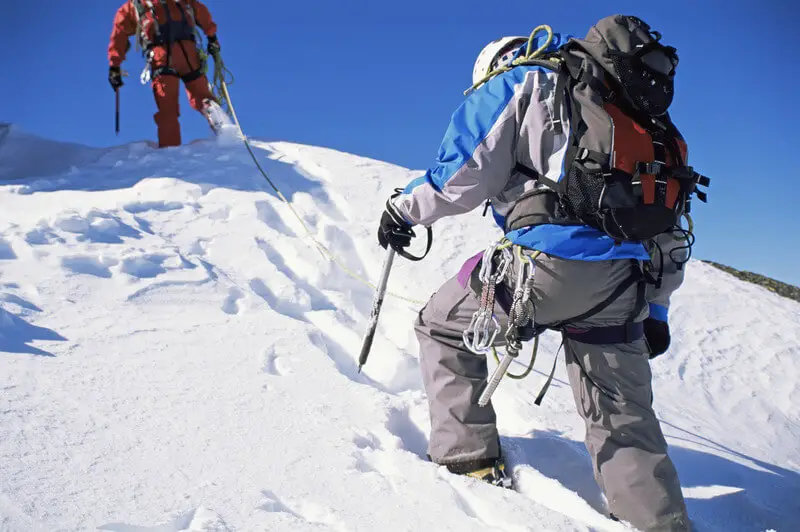
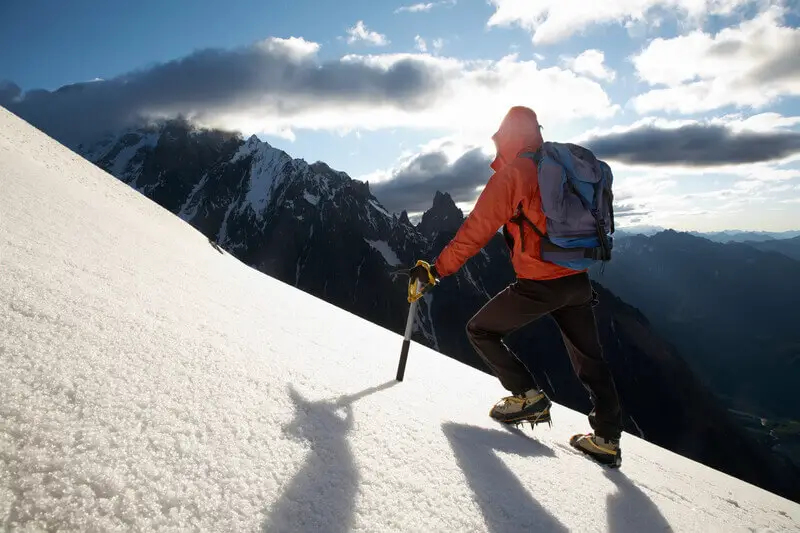
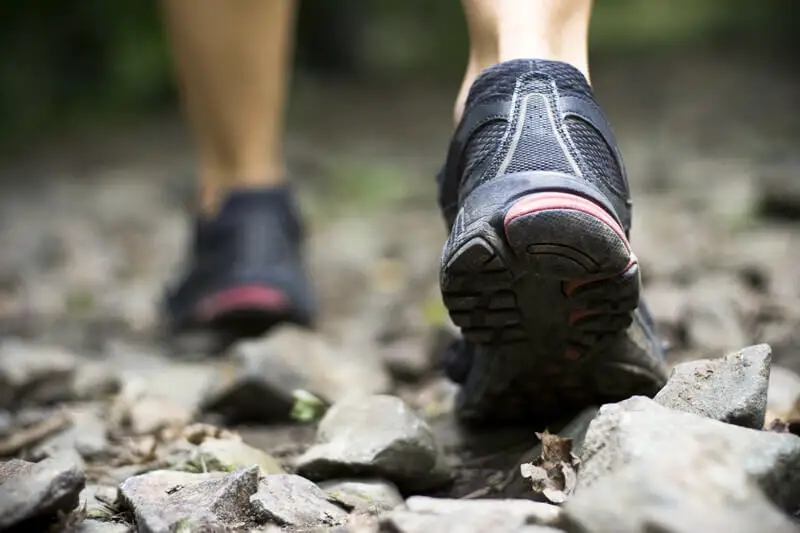
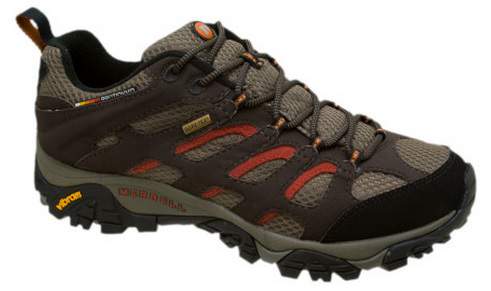
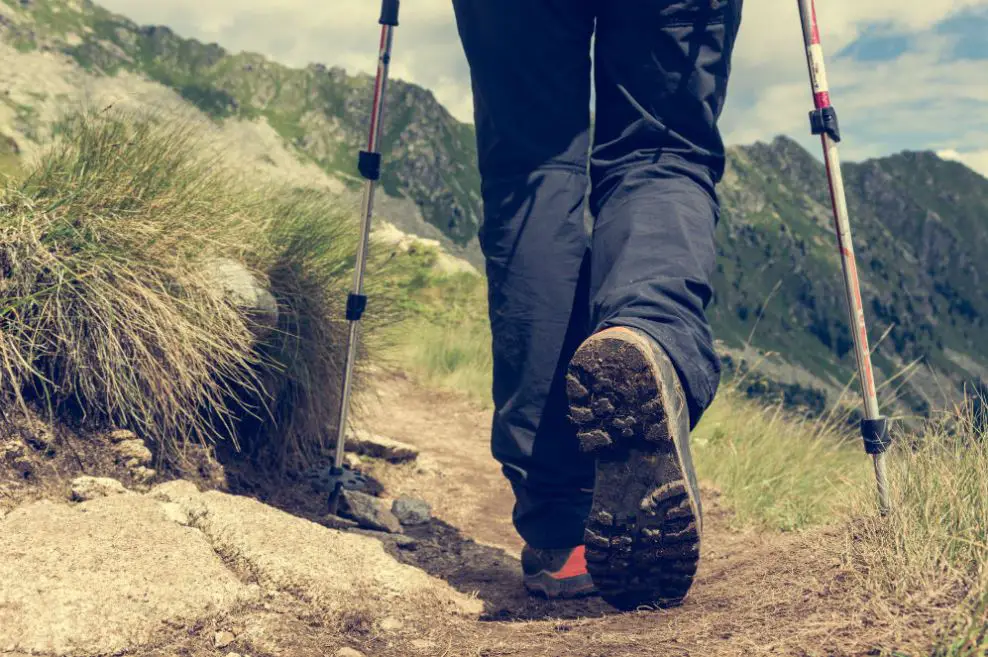
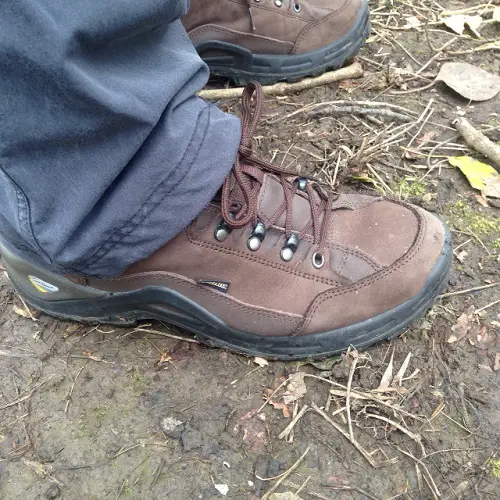
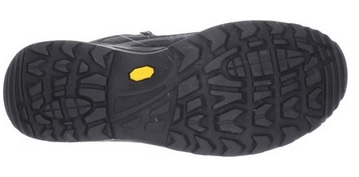
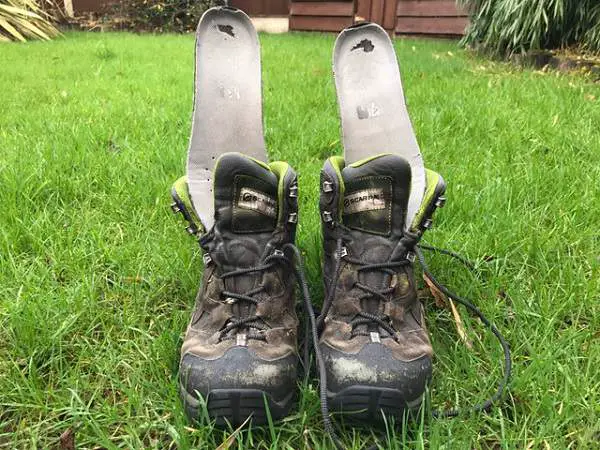
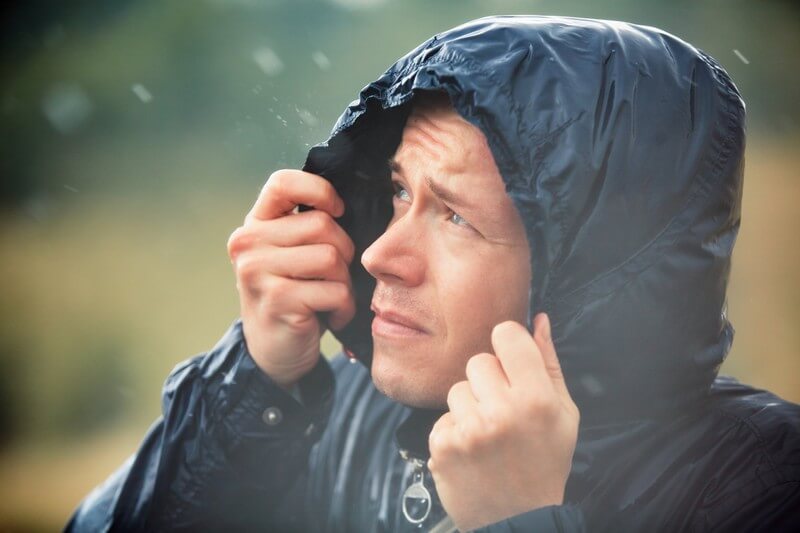
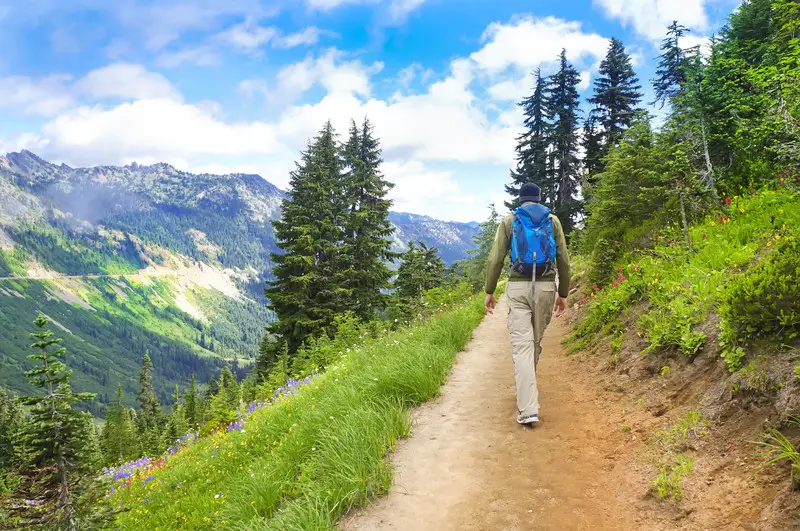
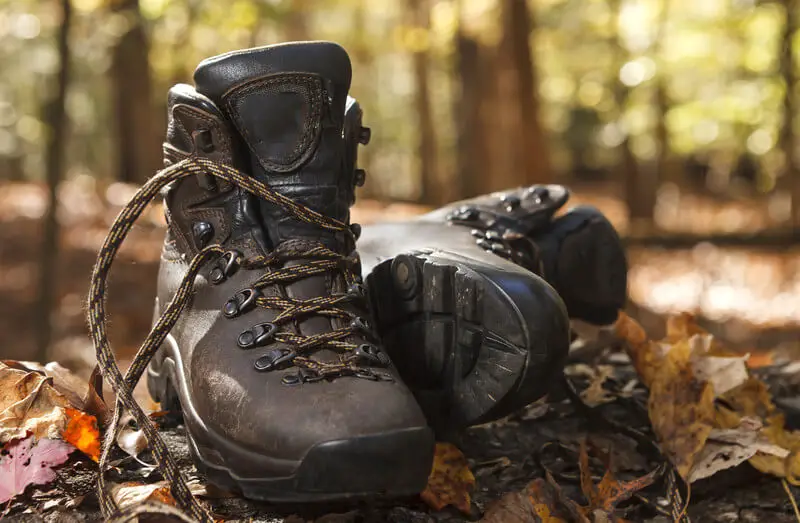
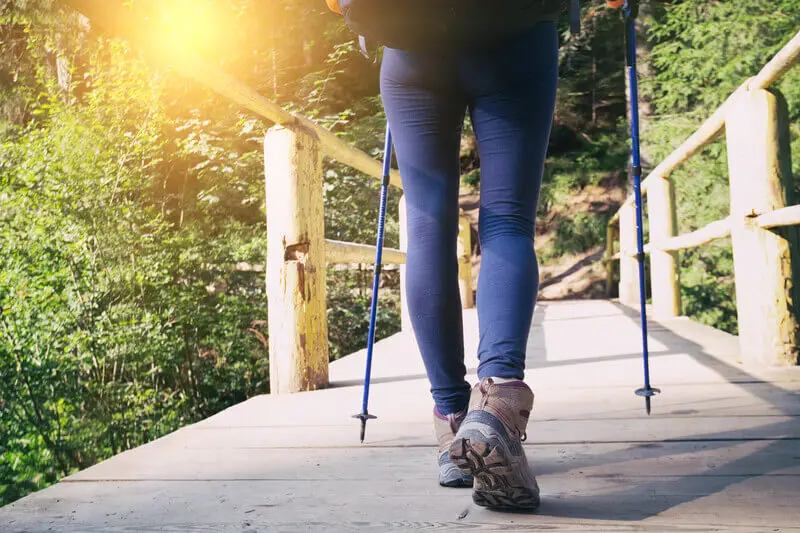
Good quality hiking boots are essential to hiking, providing protection and comfort mile after mile and even year after year. They mold to your feet over time, protect you from the damp, rocky terrain and prickly vegetation.
To the uninitiated, they may appear uncomfortable, stiff and heavy, but once they are correctly broken in, they will provide you with the protection and support you need for happy feet out on the trail.
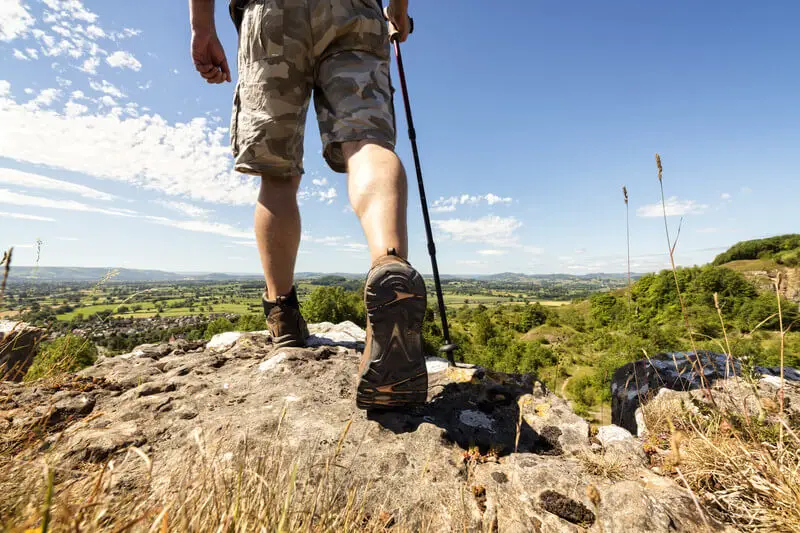
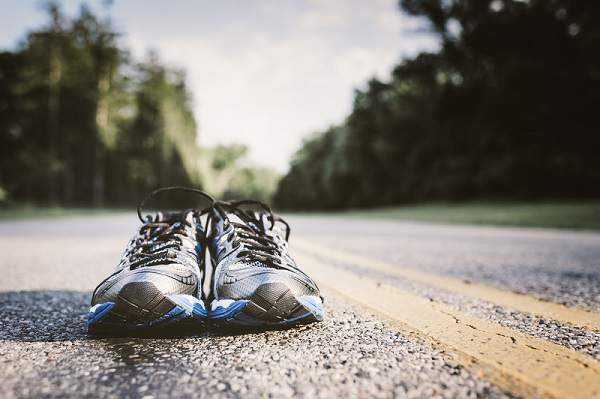
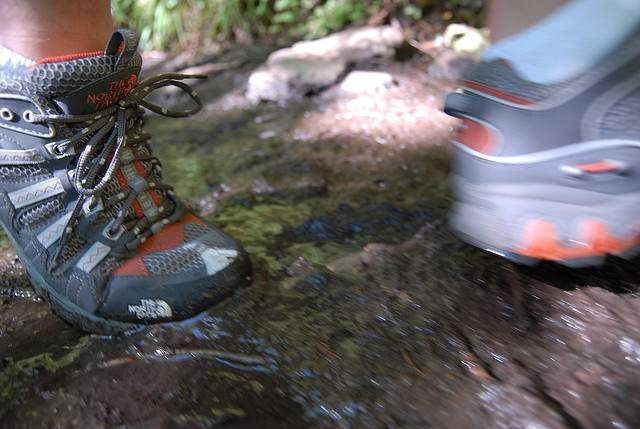
Naturally, all this comes at a price. While you may be happy walking about town in your sneakers, try even just several miles in them over rocky trails and you’ll be longing for a rigid midsole to protect your feet from the continuous impact.
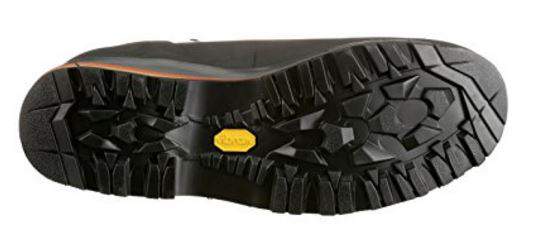
Your feet will feel each and every pebble, tree root and branch, as you limp across uneven terrain. Not to mention the lack of waterproofing, heel stops for descents and spacious toe boxes, ankle protection, lugged soles for traction and so on…
While, of course, you can hike in just about any type of footwear, it’s about whether you would still want to again once you’ve arrived at your destination.
Not to mention the increased risk of a slip or a fall from wearing unsuitable footwear, sometimes miles from the nearest sign of civilization, with no cell phone coverage.
Common Shortcomings of Budget Hiking Boots
If it looks too good to be true, as the saying goes, it often is. Quality is more expensive for a reason. That is the design process, expert consultations and superior materials.
Specialist hiking boot manufacturers have a long tradition and will have ironed out any mistakes years back. They are also often at the forefront of new materials and cutting-edge technologies specially formulated to boost their boots’ performance.
All of this costs a lot of money and, understandably, this cost is reflected in the price of their products.
On the other hand, cheaply-made hiking boots are usually from a non-specialized manufacturer. They may look the part, but then again so do many fashionable boots when the latest popular style switches to an outdoor look.
Without the knowledge, specialized materials or even the desire to create an outstanding outdoor boot, you tend to get just that, a boot that resembles a hiking boot. Substandard protection, lack of breathability, poor waterproofing and substandard workmanship.
Some budget hiking boots, especially those from outdoor brands that have introduced a cheaper line, can still provide a good choice for less. However, it often really does pay in the long term to invest in the best quality that you can afford.
The better the boots, the longer they will last and the more comfortable your hiking trips will be.
Buying cheap boots is often a false economy and especially as hiking boots take some time to break in, you end up wasting both your time and money. Even more so considering some of the better brands have substantial guarantees.
How to Get the Best Hiking Boots on a Budget
So, now we’re focused on buying the very best, how can you get the best pair of hiking boots for less?
Basically, nothing comes for free and unless you happen to get lucky, you’re going to have to put in some time and effort to discover a great pair of hiking boots at a budget price. Here’s our tried and tested money saving tips.
1. Research
Research and then research some more. You want to know exactly what you want, what it’s called and who makes it. In the crazy world of quick discounts and prices that seemingly fluctuate by the hour, you’ll need to know your facts and RRPs off by heart.
Resellers often dump unwanted stock at bargain prices without the hype or even correct specifications, so if you happen to know what’s what you could avoid a costly mistake or make a great bargain.
Keep a list in your head of your top five pairs you would buy with a 25-30% reduction and know what range they are in, and what other boots in that range are a step up or down in price.
2. Online Deals
Check on your favorite hiking boots or shoes at a range of different stores. Look at how much they’re offering as a reduction if you sign up for the newsletter.
Start with the specialist sites that tend to cost more but have better information and photos. Search for discount codes, add the boots to your cart and enter the codes to see if any work.
Repeat with other sites. Just be careful of scams, if you’re unsure and it looks too good to be true, check out the site’s contact information and look for any reviews of the site itself and the company.
On reputable sites, make an account and put in your birthday as being in a few days’ time, you may get 10-15% off. Sometimes you can get a discount code, just for signing up!
3. Sales
With discounts all year round, the sales are often overlooked. They can, however, still offer good value both online and in stores. You may want to plan your purchases around the traditional sale times of the year e.g, Black Friday, after Christmas, etc.
Remember, you’ll need to be armed with your thorough research. That way not only will you know that you are getting a decent bargain (and not just buying something that has been bumped up to knock down), but you’ll actually come away with a decent pair of hiking boots that you really want.
Unless they’re really, really what you want, don’t be afraid to hold out for extra discounts. If you’ve got a few options, hold out and wait for the final reductions, and then some.
4. Timing
If this all seems like too much stress and you just want to make a simple, relaxed purchase, wait until there’s a new release out or look at the outlet sections of your favorite sites.
Often when a new version of a hiking boots is released, prices are automatically cut on older models to simply get rid of stock.
In some cases the new model may just be something as simple as a color or logo change, and you can get pretty much exactly the exact same pair of hiking boots at a discounted price.
5. Pick the Best of the Rest
Your hiking trip is coming up, there are no bargains in your size and you really can’t afford to spend the extra. Pick several of the best pairs that you can afford and read all of the reviews carefully before reaching a balanced judgement.
Pay particular attention to reviews that mirror your needs and disregard those that don’t. Be wary of all positive or all negative reviews and try to find out as much information as possible.
If time is short and the climate and terrain are appropriate, consider a pair of trail shoes or hiking sandals from a reputable brand, they tend to cost much less than hiking boots, do not need as much in terms of breaking in, and they benefit from the know-how and quality that comes from an established, specialist outdoor wear manufacturer.
You could wear them around the house and in town too, meaning you’re not spending money on something you’ll never wear again. This could also be the better option for a one-off hiking trip.
Conclusion
While you do tend to get what you pay for, there are definitely some great bargains to be had with a little planning, research and luck.
While you may not get exactly the pair that you hoped for, at the price that you wanted, taking time to consider how to buy the best hiking boots on a budget will give you the edge and the confidence to bag a true bargain.
Remember, that if you are looking for some potential options for great new hiking boots, check out our best hiking boots for men, and best hiking boots for women.
We hope you found this useful, please like, link to and share if you did, it helps us a lot 🙂