Today I wanted to do a quick post on a really great tip on what I think is the best way to carry drinking water while hiking. OK, it seems pretty obvious, get a bottle, fill it up and you’re good to go.
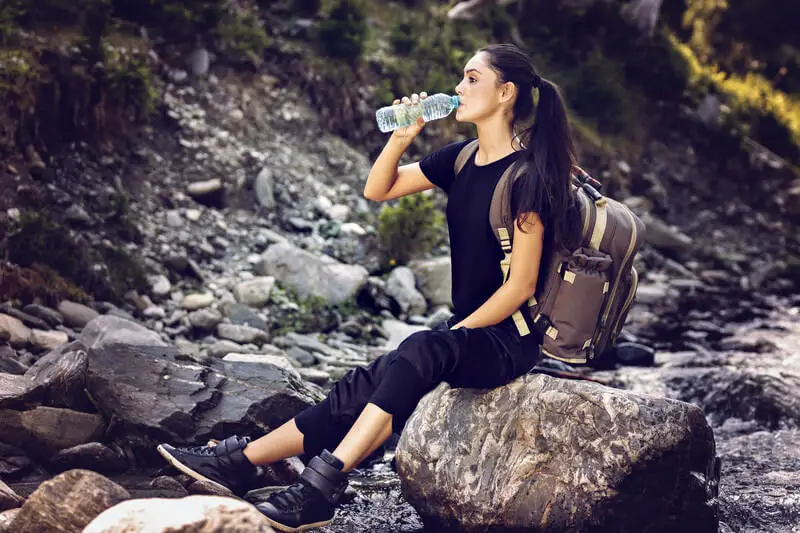
Well, yes. That is true and that is what I use on my hikes. Or rather, that is part of my water carrying method when I’m out hiking. There are many ways to carry water while hiking.
If I was to say what the best way to carry water while hiking was though, there is definitely a bit more to it.
Water Bottles
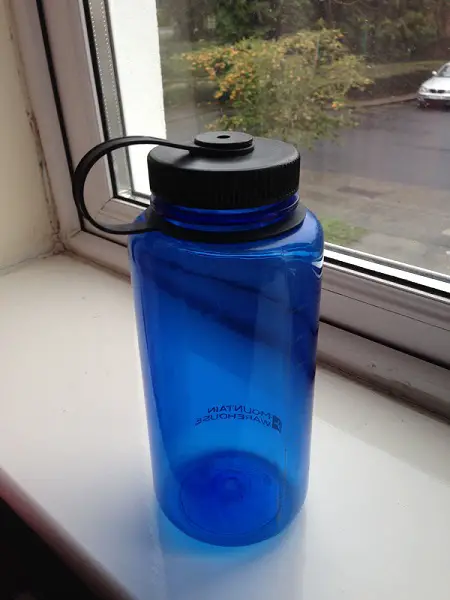
Now, as I said above, I love the trusty water bottle and I use it on my hikes. However, I use it to carry surplus water. Before going into that in more detail, I want to have a look at some of the pro’s and cons of a water bottle.
Pros:
- It’s easy to get one. You can buy a refillable water bottle in any outdoor shop and you probably already have one lying about the house. Failing that, just walk into your local store and buy a plastic bottle of water. Does the job just fine!
- If it’s in your pack, it shouldn’t freeze in colder weather so definitely a winner on that front
- You can also freeze a water bottle (depending on the bottle of course) giving you some chilled drinking water for a time on your hike. There are also other ways to keep drinks cold in a backpack
Cons:
- You have to stop to drink from it. That is, stop, take your pack off, get your bottle, drink from it and then put it back etc.
- Can be bulky to carry in a pack
- If you are using a filtering method, be sure that your water bottle works with it e.g. it can fit, etc.
What Else can you Do?
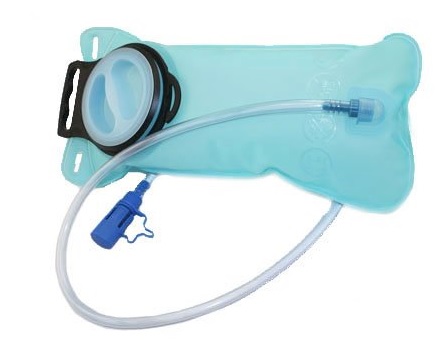
Well, one of the best ways to drink water on the move is to use a hydration reservoir or bladder. If you’re new to hiking and the outdoors, you may never have heard of one of these before.
I won’t go into great detail explaining what a hydration reservoir is, see the image and link above, but in brief, it’s effectively a bag you carry your water in, hence why it is also called a bladder, that is purpose built to enable you to easily access water while on the move.
The bag has a tube that leads out of the bag through your pack and out in front of you. When you’re thirsty, you just grab the top of the tube and drink. Easy peasy!
Now, if you just buy a hydration reservoir, you will need a day pack that has what’s called a ‘hydration sleeve’ in it. What on earth is that? Well, a hydration sleeve is simply a purpose built sleeve in your pack in which your hydration reservoir fits neatly into.
You can see mine highlighted below, hopefully you can make it out. It can be found on the inside back wall of your pack.
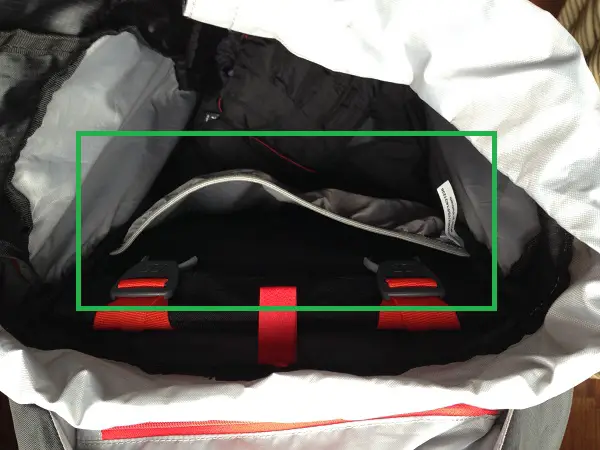
Any good modern pack will have one of these has standard as well as a drinking tube exit hole and holder.
Again, not to go into too much detail on those but in brief, a drinking tube exit hole is a little hole where the tube can leave your pack and slide through to the front, see below…
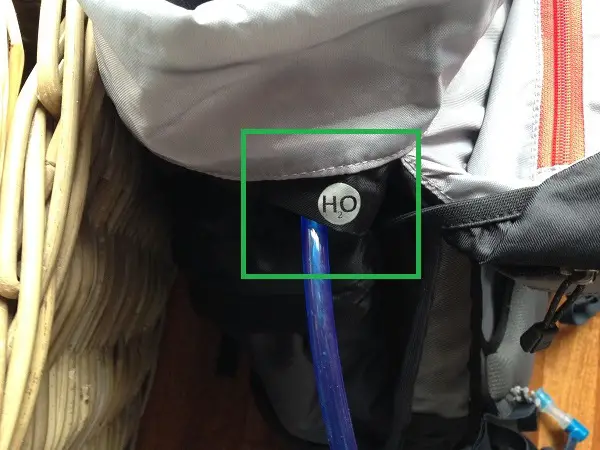
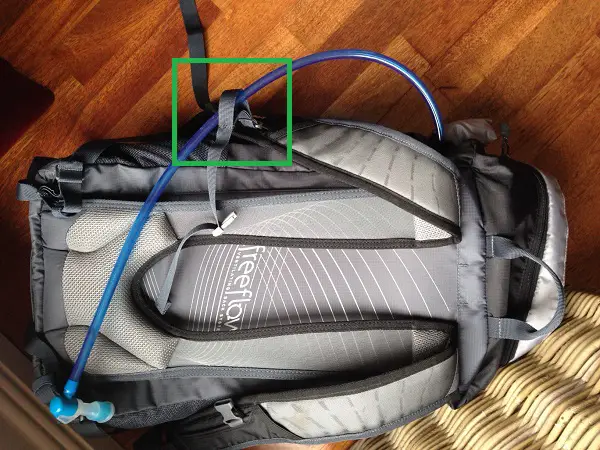
The drinking tube holder, is a little loop or catch on the lapel of your pack that the drinking tube then slides into, holding it in place. This ensures your drinking tube sits right in front of you where it’s easily accessible.
What’s so Great About a Hydration Reservoir?
Well, first and foremost you don’t need to stop when you need to take a drink. I find this very useful when hiking with a group.
I can often get thirsty while hiking and if I didn’t have the hydration bladder with me, I’d have to stop to get my pack off to get at my water.
Now, some of the folks I hike with, hike fast so if you stopped every time you wanted a drink of water, you would always be losing ground to the group which would just be a pain for me and for them.
Of course, hydration bladders have their downsides too. If you’re going to hike in very cold weather sub-zero temperatures, the drinking tube can quite possibly freeze.
On the other side of the coin, hiking in very hot deserts will also bring it’s own set of problems using a standard hydration pack / reservoir. So, they’re not always ideal for every environment and climate.
Now, I should add that you can of course get insulated hydration packs too for tougher conditions, and so your water freezing or heating up, shouldn’t be as much of a problem with one of those.
Hydration reservoirs / bladders can also run the risk of bursting in your bag, but that is a rare enough occurrence in my experience. Overall, the standard hydration reservoir should suit most hikers most of the year round.
Also, you need to keep your hydration reservoir clean, especially if you carry anything other than water in it. I mention this as it can be a bit trickier to clean than a standard water bottle. I only use mine for water though so it’s a non issue for me really.
What’s a Hydration Pack?
I cover this in the hydration bladder buying guide, but it is worth giving a nod to it here just to explain a bit on it.
As mentioned above, most backpacks have an hydration sleeve purpose built, you buy your hydration reservoir / bladder separately and use them with your pack. All good.
However, you can also get hydration packs, which is the whole package, so a backpack with a purpose built hydration reservoir for that specific pack.
Not a necessity, but certainly you should have no fitting issues as the bladder is designed to work with the pack.
What’s the Best Way to Carry Water Backpacking?
Good question 🙂 Backpacking is different to hiking, in that you are carrying a lot more gear in your pack.
You will want to focus on ways to make your backpack lighter, not heavier, so you may not want to have a full 3 liter water bladder added to the weight of your backpack!
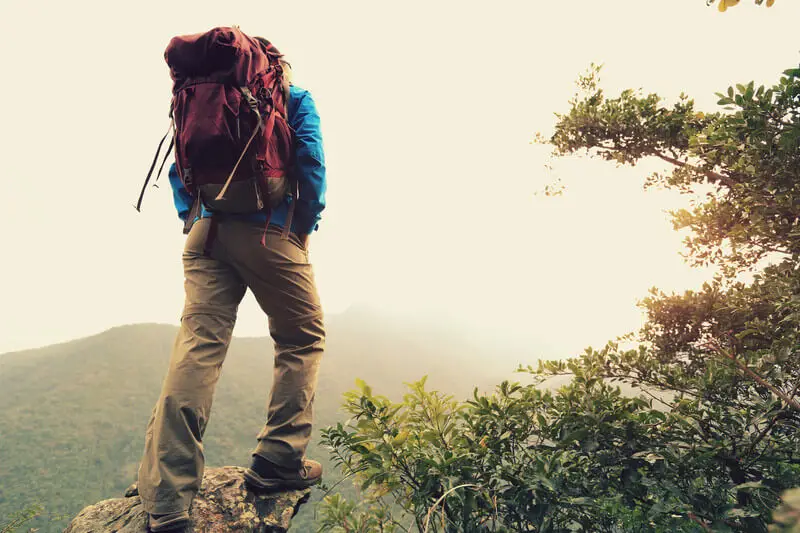
When you backpack, typically you move at a slower pace as you have more weight to carry, than on a standard hike. With that in mind, having your drinking water in your water bottle can be fine, as you will likely be stopping more often anyway.
Remember the note I mentioned above about the risk of a bladder bursting in your pack? That can become much more of an issue if you have all you camping gear in your pack, and it gets wet!
That is definitely not good! There are ways to waterproof a backpack, the best of which are tackled from the inside. I typically use dry bags where I can to protect my sleeping bag, clothes, etc. So even if my bladder did burst, I should be OK.
However, I always pack my tent out of its packing dispersed across the backpack. If it got soaked, it would be a pain!
In short, you always have to be careful. If you are miles from anywhere on a backpacking trip in winter time, and your bladder burst soaking your nice down sleeping bag, you could have a serious, and potentially life threatening, problem on your hands!
Plan ahead and be sure to cover all the bases and you should be good to go. Even if you are fastpacking, you still have more weight to carry, however you might prefer to be able to drink on the move. So maybe an hydration bladder would work better.
It’s also worth noting that a bladder is a really useful thing to have when on a backpacking trip. I use mine at camp as a water bag.
So before I get settled and ready to relax for the evening, I will go to my water source and get a good fill up which I can hang in my tent for multiple uses, not just drinking e.g. cooking, washing, etc.
Now, be very careful if you do that, as you need to be sure you filter the water appropriately before putting into anything you plan to drink out of.
There is no doubt that boiling is probably the best way to purify water, and that may not be possible to do when you fill your bladder up.
So it might be wiser to use a bottle in that case, to transport the water before boiling it, not to drink out of. It all depends of course, where you backpack and what you need to do to make the water potable.
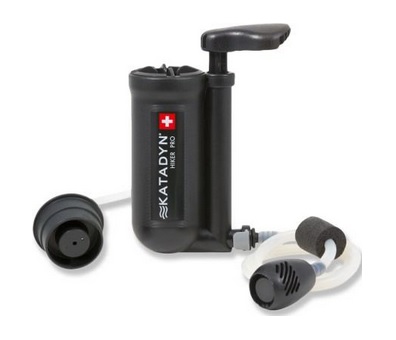
You can of course get excellent water filters these days, which do a great job of cleaning your water before you drink it. It’s very important to know how to use your water filter properly, and that they are suitable as a purification method where you are.
It’s worth noting too that you can get hydration reservoir specific filters which you can attach directly to the bladder. These are usually attached at the drinking tube port on the bladder. I haven’t used one of these myself, but they could be worth investigating.
The video below does a very nice run through of all of the various options available for water storage when backpacking.
So, in summary, I fully agree with the final point in the video commentary, I think you need to do what is best for your needs.
First and foremost, always be clear on what purification methods will work well where you intend to backpack.
When you know that, you can plan out your water strategy for your backpacking trip. As mentioned, when I backpack, I tend to bring a water bottle and my water bladder, which I use as a water bag.
I should add that you can buy water bags separately too, these are just bags that hold water, they don’t have a drinking tube, etc. You can get ones that work with specific hydration and filtering systems too though.
Conclusion
So, in conclusion, I think the best way to carry drinking water while hiking is to first use a hydration reservoir / bladder. This will provide easy access to two or three liters of water while on the move. If you want guidance on how to buy a hydration bladder, read this post.
The best way to carry water while backpacking, is a bit of a different matter, and I think trying out a combination of a few of the methods listed here is the way to go, to see what works best for you.
Remember, that to really utilize a water reservoir efficiently, you need to have a pack that has a hydration sleeve and drinking tube hole and holder built into it.
If you’re going out on a longer hike on a hot day or if, like me, you’re a particularly thirsty hiker, back your hydration supply up with water bottles. You can use them to top up your bladder as you progress.
What do you think? Is this the best way to carry water hiking? I think it’s all about trial and error, you have got to figure out what works best for you and your specific needs.
Happy hiking 🙂
