If you don’t know how to use a map and compass for hiking, then not only are you missing out on an essential skill, you could also be putting your life in danger.
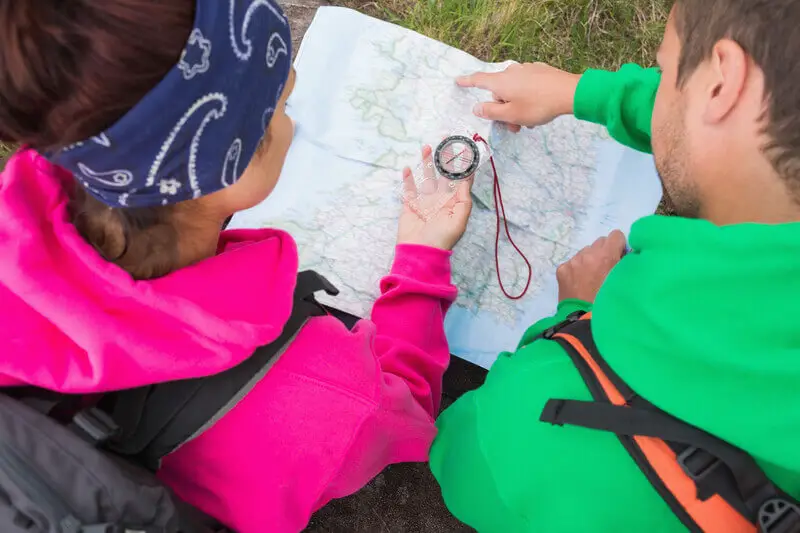
Modern technology has its limitations and the best way to play it safe, is to know how to use a map and compass, and to make sure that you always have them to hand in your backpack as an essential part of your kit.
Let’s take a look at some hiking compass and map basics, as well as how to find out how to take a bearing and how to find your location on a map.
An Essential Skill
Even in today’s modern world, knowing how to use a map and compass is an essential skill for all hikers.
While you could, conceivably, go on a lifetime of hikes without ever having to read a map and compass, they are one of the ten hiking essentials and knowing how to use them correctly could even save your life.
When you can read a map and compass correctly to find your way, you’ll benefit from greater confidence and an increased sense of security when you take on more challenging hikes in remote areas.
Your phone or other GPS equipment, is undoubtedly easy to use and extremely convenient. However, you need to be careful relying on technology, batteries can run flat quicker than expected and if your devices get dropped or wet, you could find yourself lost very quickly if you were solely relying upon them.
Even the temperature can adversely affect certain electronic equipment, draining a full battery in less than half an hour.
So, you need a backup plan and a compass and map are the true tried and tested way to navigate. Read on to find out the essentials of map-reading for hiking.
Topographic Maps
Topographic maps don’t just show you trails and roads, they also show terrain types, gradients and landmarks.
Once you are able to read them correctly, they will give you an almost lifelike, three dimensional reading of your surroundings, making it easier to plan your route avoiding potential hazardous areas.
Here’s some of topographical maps main features that you’ll use when hiking.
Contour Lines
Contour lines help you to visualize relief and gradient. A contour line links a series of points that are all at the same height. The green arrow in the image below is pointing at a contour line.
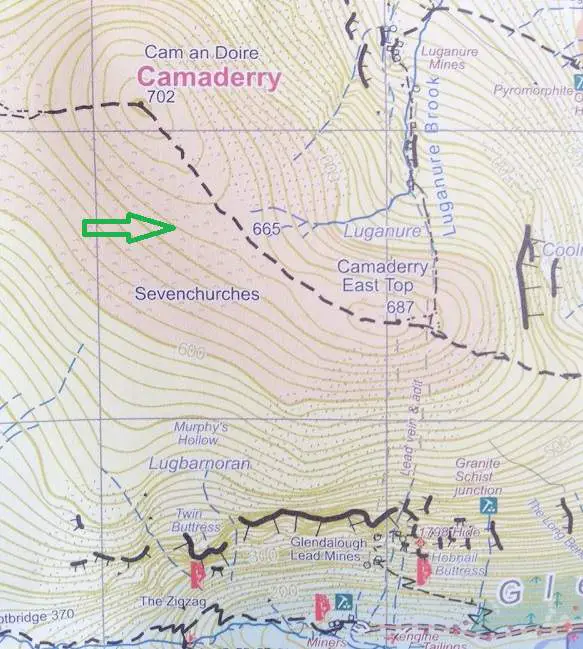
When the lines are close together, that indicates a steep gradient, when they’re spaced far apart a gentle slope. Each contour line corresponds to a set interval in height, usually 40 or 80 feet, check your map’s legend to make sure which one.
Contour lines also give you an idea of how the surrounding terrain looks by the forms that they make. Looking at the highest lines that form the peaks can give you the outline of the shapes formed by surrounding hills and mountains.
Index Lines
Every fifth, tenth or fifteenth contour line, depending on the map you are using, is an index line. Thicker than the surrounding contour lines, index lines also have their height indicated somewhere along the line.
Color shading, as shown in the image above, is also sometimes used to help to easily distinguish different sections.
To quickly and easily work out the heights of the neighboring contour lines simply add on the amount indicated in your maps legend as the vertical interval between contour lines.
Spot Heights
Spot heights are specific heights that are given next to a black dot, showing their precise location and height. They are used for areas which may differ in elevation from the surrounding area, such as peaks.
Scale
Scale shows the relative distance on the map. To find out the actual distance, refer to the scale shown on the map or legend to work out how far the corresponding distance is in miles. You can use the flat, graduated edge of your compass to work out actual distances on your map.

Maps with smaller scales show more detail, but over a smaller area, whereas maps with a larger scale will show larger areas but in less detail.
Landmarks and Terrain
Looking through your map’s legend will reveal a huge variety of symbols to help you to recognize various landmarks, buildings and terrain features. As your map reading skills progress, you will soon come to recognize some of the most commonly used symbols.
Dense vegetation is indicated by darker shading, fading to indicate sparse or no vegetation. Water courses are indicated in blue and roads, trails and paths are shown in various different ways depending upon their importance and size.
When you look through the symbols in your map’s legend, be sure to pay attention to the declination (direction offset for true north), the contour line interval and the scale, before you attempt to start navigating.
Setting a Map
A key navigation skill, is knowing how to set a map. Basically, this means aligning the map to what you see on the land in front of you.
So, say you are standing in front of a lake, with the highest peak in the range, directly in front of you, no the other side of the lake.
You first identify where the lake is, and then find the peak. this wouldn’t be hard in this case as it will be the highest one on the map 🙂
Then rotate your map until the peak on map, with the lake in front of it, is aligned to the one you are looking at. Congratulations, you have just set your map!
Why is this important? Simply, if you want to know where to go, you need to start by knowing where you are. This is an easy and quick way to establish your location, and you can plan your next steps from there.
Without a shadow of a doubt, this is the most regularly required and used skill when using a map. It’s not hard once you are familiar with the legend, the markers, etc. of the map. Like most things, it just takes a little practice.
A great way to practice is to randomly try and identify your exact location, while out on a hike. Perfect for when you are on a marked trail, you won;t get lost and you can try and identify where you are as you learn.
Understanding your Compass
Just like topographical maps, you should take time getting to know the features on your compass and how to use them.
Be sure to get the best compass you can, well, the best one that you are comfortable using.
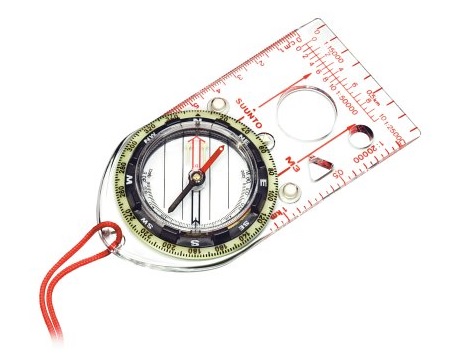
We recommend the simpler plastic ones, like in the image above.
Baseplate
The baseplate is the transparent plate upon which your compass sits. It will usually have at least one straight edge with graduated markings to help you to work out distances and for use in triangulation.
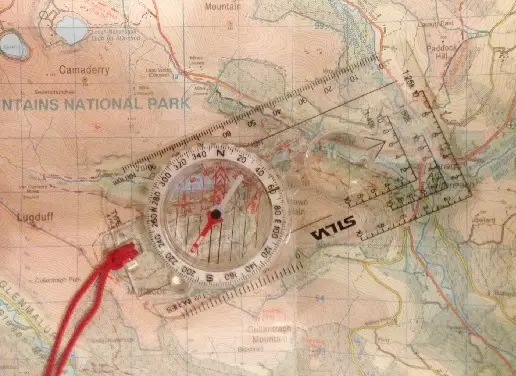
The base plate is also home to numerous other essentials, such as the direction of travel arrow, to help you to line up your compass correctly on the map.
Rotating Bezel
Your compass will have a rotating bezel also known as an azimuth ring, this is marked with degrees 0 through 360. See the circle with degrees marked on it in the image above
Needle & Housing
The needle housing contains the magnetized compass needle. The red end of the needle points towards magnetic north.
There will also be an orienting arrow that you use with the bezel, shaped to fit around the needle, as well as an index line where you will take your bearing reading. Again, you can see these in the image above.
Setting your Compass Declination
You will need to check the declination on your map so that you know what angle and direction equates to the difference between magnetic north and true north. This information can be found in the legend section of your map, or on the cover.
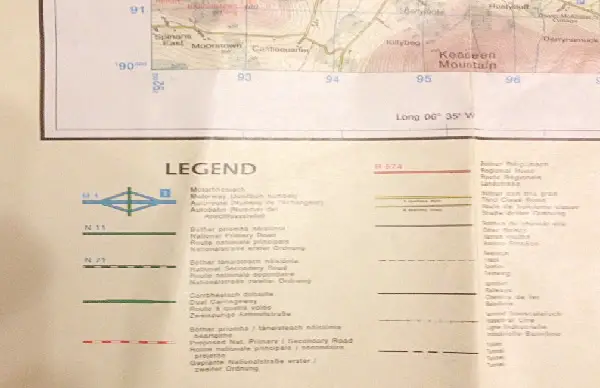
This also changes over time though, so what might be accurate today, may not be accurate in a years time, so keep that in mind. There are websites you can use to check the declination for a particular location.
If your compass has adjustable declination, and some do, then follow the manufacturer’s instructions on how to set this up. Some compasses require you to use an included small tool to alter the declination, while others need to be pressed down.
If your compass doesn’t have an adjustable declination, then you will need to take your readings and add or subtract the declination each time you take a bearing. This is not difficult at all.
Remember, with magnetic north being currently located around the Hudson Bay in Canada, an east declination will be a positive number and a west declination a negative number.
Using your Map and Compass
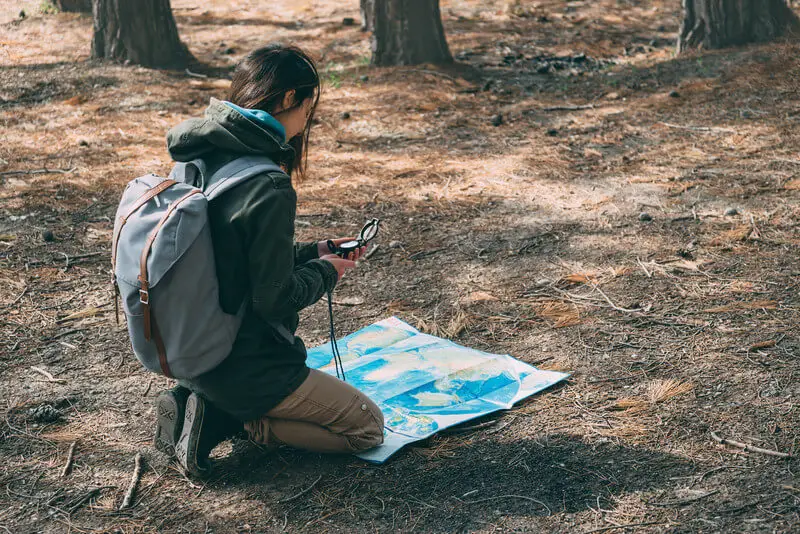
Using your map and compass together you will be able to pinpoint your location on the map, or to find out where you should be heading to reach a specific destination.
Let’s take a look at how to take a bearing and how to identify your location using your map and compass. First, watch this useful video from the folks in REI.
How to Take a Bearing
As shown in the video, a bearing is a direction that is specified in degrees. To take a bearing using your map and compass, line up the straight side of your compass with your location on the map.
Rotate the compass so that the straight edge forms a line between your location and your desired destination. Make sure that the direction of travel arrow is pointing towards your destination. Then, rotate the bezel until the orienting lines are correctly aligned with the map’s north and south.
Once the lines are correctly positioned, look at the index line to take your bearing reading. To follow it on land, remember to add or minus any applicable declination if you need to do it manually, and there you have it, you’ve successfully taken your first bearing, that you can follow to take you to where you want to go.
Point your compass in front of you with the direction of travel arrow facing away from you. Rotate your body until the needle is inside the orienting arrow. When it lines up inside of it then you’re facing the correct direction.
A handy tip when following a bearing, assuming you have visibility, is to pick a landmark of some kind in the distance, say a noticeable tree, or shape in the land, that lies in your direction of travel.
You can now put the compass away and walk to that landmark to save you having to keep looking at your compass. Then do it again, until you get to your destination.
How to Identify your Location
You can identify your location on a map using a process called triangulation. Triangulation works by taking different bearings in the field and using them on your map to narrow down your location.
One bearing will give you a line upon which you will be situated, you then refine this reading and hone in on your location by taking further readings. Where they meet will pinpoint your actual location.
Here’s how it works. Take a bearing in the field by focusing upon a nearby landmark that you can easily locate on your map. Hold your compass in front of you with the direction of travel arrow pointing towards your chosen landmark.
Keeping your compass steady, rotate the bezel until the magnetized needle lines up inside the orienting arrow. Once it is lined up, take your bearing at the index line.
Transfer your bearing to the map by lining up your compass on the map with the edge at the known landmark (remember to account for any declination from land to map).
Of course, you’ll need the direction of travel arrow to be pointing towards the landmark. Rotate the compass until the orienting lines are running north-south and north is situated at the top. Draw a line along the edge of the compass, your location is somewhere along this line.
Repeat the process, taking a second and third bearing to find your precise location along this line. Just make sure that your landmarks have an bearing of at least 60 degrees between them.
Mark these bearings on the map. With three bearings you’ll have a triangle, the smaller the triangle, the more accurate your reading will be.
Orienteering
Using a map and compass can also be a fun and sometimes challenging experience. If it’s something you end up enjoying, try your hand at some of the popular permanent orienteering courses available at some city, state and national parks.
They usually have a variety of levels and they can be a fun way to perfect your skills and spend an afternoon outdoors. Just make sure that the markers are still available if you’re visiting over winter, as some parks may remove them over the colder months.
If you’re struggling to get started check out some local orienteering courses, they are often available in cities too, or try out your map-reading skills on routes that you know off by heart to get the hang of map reading in a safe environment.
Conclusion
Knowing how to use a map and compass for hiking is an essential skill. If you’re having problems getting started then remember practice makes perfect.
Take your map and compass out with you on all hiking trips and take time to stop and use your map and compass. This will help you to familiarize yourself with the basics and to gain confidence in your readings in a familiar environment.
As the saying goes, practice makes perfect, so find the time to brush up on your orienteering skills, it could prove invaluable when you’re out in the wilds of the backcountry or unfamiliar territory.
