Well, not really that scary :-), but definitely a challenge! The last few weeks I’ve been out doing night navigation a few times. I wanted to practice it as I had an assessment coming up. While I have done the training so know the tools to use to help me navigate at night and have navigated at night before, it generally isn’t something I do on a regular basis.
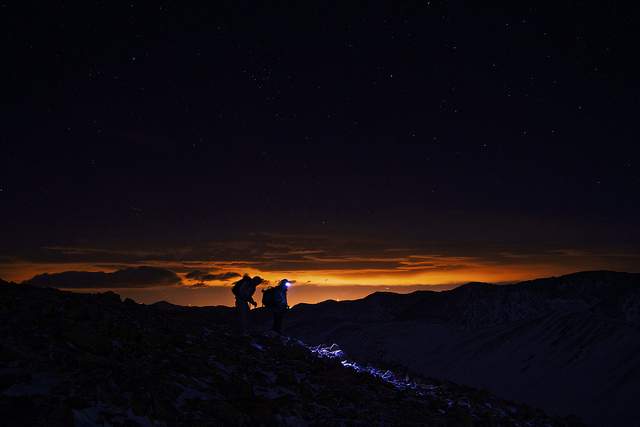
Photo Credit: Zach Dischner
I of course hike during the day and, generally speaking, visibility is relatively good. Night Navigation is something that I think needs a refresher every so often as it is something that you can easily not use for years unless forced into the situation where it is needed
I guess first off I’ll start with looking at what night navigation is and, probably more importantly, why someone would want to learn how to do it and for what circumstances.
What and Why?
Night navigation is exactly as it says on the tin. Navigating your way through the mountains, wilderness, etc. on a hike at night.
The next logical question if of course, why? Why on earth would you be out hiking at night? Isn’t that just dangerous and irresponsible? Taking an unnecessary risk when you could plan your route better and do it during daytime?
Well, in some ways you could argue yes but night navigation really comes into play in two main sets of circumstances. The first is of course, in the event of an emergency. If someone gets injured or hurt, you may need to stay with the injured party until help arrives.
In most cases, the rescue teams will only lift out the injured party. If you are not in any immediate danger, you will have to make your own way back to safety. You may have to wait into darkness till that help arrives and when it does, you have to navigate your way out of the mountains in the dark.
The second is really as a practice method to replicate really bad weather in daylight. It is very possible and probably inevitable that at some point you will get caught in heavy fog or a weather front will come in and your visibility in daytime will be more or less zero.
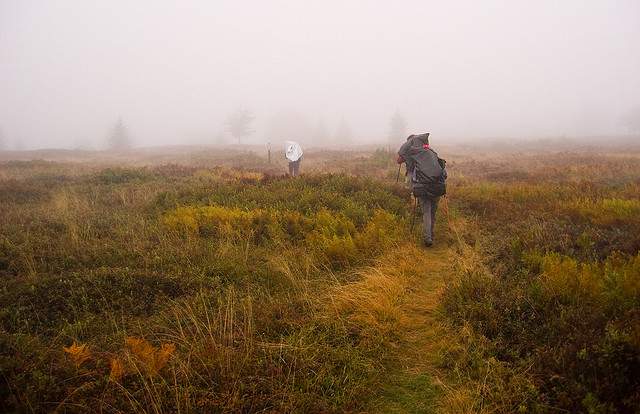
Photo Credit: Jason Pratt
What better way to replicate those types of conditions than to go out hiking at night and try and navigate your way around in the dark. The same skills that will come into play for night navigation, apply in those situations too.
Some Folks Just Enjoy it!
There is a third circumstance where perhaps someone just wants to hike at night. I don’t think this is irresponsible if the hiking group are well prepared and plan their route well in a location known to them. Night navigation will still come into play but more in terms of confirmation and so on.
On the other side of this coin though, going out night hiking in totally new terrain in a location unfamiliar to you will bring more risk with it. Broadly speaking, it will depend on the terrain. If it’s rolling hills and easy trails, then you are probably fine to go out hiking in a new area cold. If it’s a set of rocky mountain ridges, it is of course dangerous and, most likely, very irresponsible.
Things like skill levels, navigating experience and so on all come into play. As always with hiking and enjoying the Great Outdoors, it comes down to common sense and not taking unnecessary risks.
How do you Navigate at Night?
I will list a few things here that are standard tools when navigating at night, however I stress that this is not meant to be a set of instructions to read, and then try to follow when you head out on night hikes.
You need to get proper instruction from a qualified instructor to learn all of these techniques before ever using them. It takes practice, you will make mistakes and so it is good to be with a trained expert who will ensure you get back to safety should anything go wrong.
On with the tools …
Map and Compass
As critical on night navigation as during the day. The same things that apply during the day apply at night but of course many things will not be as obvious. For example, you can’t easily see features at night and so it’s not as easy to use your surroundings to confirm where you are.
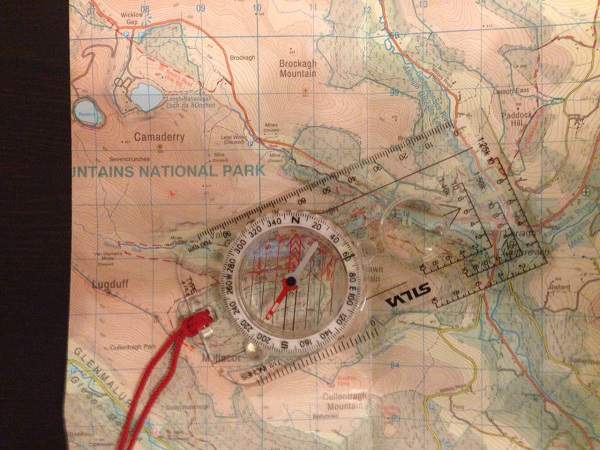
The main things you need your map and compass for are:
- To take a bearing on your compass from where you are to where you want to go, just the same as you do during the day
- Measure distance from where you are to where you want to go, again just as you may use during the day to pick out a very specific feature in bad visibility
- Where possible, to use features on the map to be identified at night just as you do during the day. This is of course harder in the dark but still very doable. For example, if you move towards a river, it will be there during the night just as it is during the day. While you may not be able to see it from afar, you will be able to hear it as you approach and use it to handrail to another location and so on, just as you would during the day.
- Use contour lines on the map. Again as you would during the day, you use the contour lines on the map to see what the land should be doing.
Some Sense Adjustment
Now, this last point is a little different and takes in a different set of senses. During the day, you can usually use your sight to see what the land is doing. At night with no bright moon, and in bad visibility during the day, sight isn’t an option, so how else can you use the contours to help you?
Well, if you know that your measured distance is 300 meters and the first 100 meters goes upwards at a 30 degree angle, the second 100 goes across a flat area and the final 100 meters goes downwards over another 30 degree angle, you can sense this using your feet and body.
When starting you should be walking uphill and feel the land going upward underfoot. If you pass 100 meters and you are still going upward, an alarm bell should go off as you know from the map that the land should become flat. Therefore, you know something isn’t right and you may need to rethink or review your strategy.
Pacing
Next up is pacing. Pacing is basically where you learn how many paces it takes you to walk 100 meters. Then when hiking at night, as mentioned in the last section, you measure a particular distance for a particular leg. You do that by counting your paces as you walk. When you reach your measured distance in paces, you should be in the vicinity of where you want to be.
Now I say vicinity as pacing is not an exact science. When you measure your pacing of 100 meters you usually do it on the flat over normal ground. When you’re in the mountains, you of course are not hiking across nice flat and even ground. It is bumpy, it goes up in places, it goes down, etc. That means that your pacing number will vary depending on the terrain.
All this together means that you need to take this into account when you’re pacing. If you’re going uphill, your 100 meter pacing number may need to increase depending on the incline. All of this can only be learned through practice and experience, using judgement based on the area and terrain you’re walking over. Pacing will never be 100% accurate but it is a useful guide and tool to be used in conjunction with the other tools listed here.
You can learn more about pacing in this post I did a while back. It will give you an idea of what’s involved but as already mentioned, when it comes to actually putting it into practice, I recommend you learn from an expert or professional trainer.
Timing
Again, similar as during the day, you will estimate the time a hiking leg should take, just as you do during the day. So if you measure a distance of 750 meters, and you are walking at 5km per hour, and you will cross upwards over five contour lines. Using Naismith’s rule, which again should be adapted as best required to you and your hiking party, I can say:
- 5 km per hour gives 12 minutes for 1 km. 750 meters will therefore take 9 minutes.
- Add a minute per contour line using Naismith’s rule, 5 contours equals 5 minutes.
- That give me a total of 14 minutes to travel upwards over the 750 meters over 5 contour lines.
Again, you may need to take into account other elements for the equation as required e.g. slow terrain like bog or marsh. Now, armed with my 14 minutes, I can start my stopwatch when I start pacing out the 750 meters.
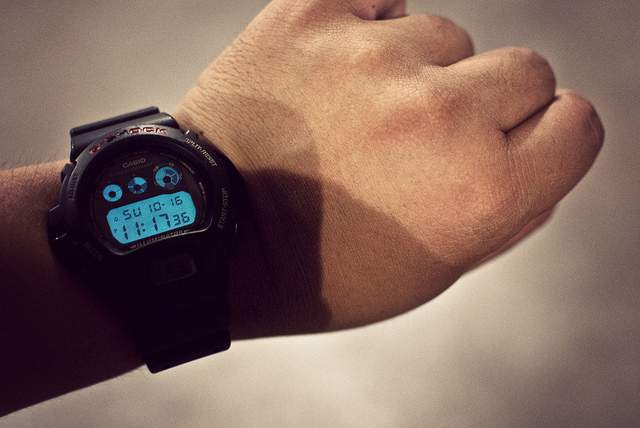
Photo Credit: Rafael Castillo
When I get to where my pacing takes me, I can check my timing. It should be in the ballpark of my 14 minutes. If it says 20 minutes, is there a reason why it took that 6 minutes longer than I planned? If it says 8 minutes to travel the distance, why was it so short?
As you can see, none of these are stand alone. You are using all of these different pieces of information in conjunction with one another to confirm where you are on the map.
Equipment
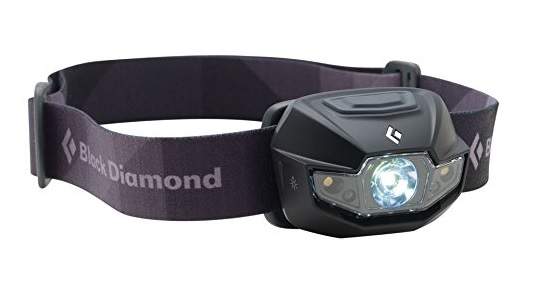
As well as all the usual hiking gear you need for day hiking, it goes without saying probably but you need to have a headlamp for night navigation. I recently bought a new headlamp from Black Diamond and I am very pleased with it. If you’re looking for a head torch, check out our top hiking headlamp recommendations. A headlamp won’t enable you to see everything but it will enable you to see the ground your feet are walking on which is of course critical in the dark.
Tip: a really handy tip I learned last weekend from the assessor to help with broader visibility in the dark is to take your headlamp off and hold it at your waste.
This provides a much greater level of vision as you’re not looking directly into the spot of the headlamp but instead see the whole periphery of the beam. It’s very effective to give you a broader picture of the surroundings before moving off.
You will also need a good hiking watch too, to be able to keep an eye on your time as you move from one point to another. You will need functions like backlight, stopwatch, timers, etc.
Finally, you of course need a suitably detailed map of the area and a good compass.
Concentration
Not a tool per se but an absolute necessity for night navigation that I feel is worth stressing. As mentioned in the last lines of the last section, you need to be able to keep all the above pieces of information in your head at once and weigh them against one another on a consistent basis.
So, as you’re counting your paces, you’re noticing what the land is doing under your feet and comparing it to what the map told you it would do. Every so often you glance at your watch to check your time etc. You are mixing all of these pieces of information in one go and that takes CONCENTRATION.
If you need to navigate at night or out of a tricky spot during the day, it is not a good time to start chatting about the football results. If possible, get someone else to look after the group to leave the lead navigator to concentrate on the task, or tasks, at hand.
You don’t want to get confused half way through a leg and not know how to get to where you wanted to go to or how to get back to where you started. If so, you then have the added difficulty of having to relocate somehow to confirm your position. A headache on top of a headache, if you will, so stay focused 🙂
Conclusion
I hope you enjoyed this short article. Night navigation is a really great skill to learn and is a requirement for most Mountain Guide and Leader courses, or for people who want to lead groups in the outdoors in a professional capacity. I’m happy to say I passed my assessment but I know it is something that needs to be continually practiced as it is a skill that needs to be sharpened on an ongoing basis.
If you think about it though, if you can navigate successfully at night, you should be able to handle most situations during the day so it is a great skill to develop.
I stress again that you should learn night navigation, and navigation in general, from an experienced trainer on an officially recognized course in your area or region. Learning stuff from video and online is fine but you need to get the feel for it in real life with the guidance of a trained expert should anything go wrong.
Do you navigate at night? What are your thoughts on it? Please share this article or leave a comment.
